
How Long Does It Take to Install Solar Panels?
Author: Steve Fairless
Originally Published: 7th March 2024 · Updated: 29th August 2026
For a typical UK home, the physical solar-panel installation usually takes around one to two days once the site is ready. The full project takes longer because a good installation starts before anyone climbs the scaffold: suitability checks, survey, system design, quotations, structural and electrical assessment, DNO requirements, equipment scheduling and commissioning all have to be completed in the right order.
At Sustainable Energy Engineering, we separate the installation day from the project timeline. That gives customers a more useful answer than repeating a blanket “six to eighteen weeks” figure that may be much too long for one property and much too short for another.
Updated: 29th August 2026 using current Energy Saving Trust, MCS, Energy Networks Association and Ofgem guidance.
Solar Installation Timeline: The Direct Answer
- On-site fitting: Energy Saving Trust currently says a typical rooftop system should take one to two days to install.
- Scaffolding: may be erected a few days before the installation date.
- Survey and design: happen before installation and can add days or weeks depending on access, roof condition and project complexity.
- DNO: some systems can follow a simpler notification route, while others need a connection application and approval before equipment is connected.
- After installation: testing, commissioning, handover documents, DNO registration and any export-tariff application still need to be completed.
Why “How Long Does Solar Take?” Has Two Answers
Homeowners often mean one of two things. They may be asking how long engineers will actually be working at the property, or how long it will take from accepting a quotation to having a fully commissioned system. Those are different timelines.
Roof, shading, electricity use, structural condition and electrical equipment are reviewed.
Array layout, inverter, battery if relevant, cable routes, generation estimate and network route are agreed.
Mounting, modules, wiring, inverter and any storage equipment are fitted and connected.
Testing, commissioning, certificates, monitoring, DNO paperwork and export setup follow.
Stage 1: Initial Suitability Checks
The first stage is deciding whether the property is suitable and what type of system would make sense. We look at annual electricity use, roof area, roof direction, likely shading, future loads such as an EV or heat pump, and whether battery storage is likely to add practical value.
This stage can be quick when the property is straightforward and good information is available. It can take longer if the roof is unusual, there are multiple roof faces, the customer is planning other building work or the site has an existing solar system that needs to be integrated or altered.
Stage 2: Site Survey and Technical Assessment
Energy Saving Trust's current installation guide says an assessor should look at the roof before installation to confirm that it is safe to hold the panels and to design the system around the property. That survey is important because a fast installation is only a benefit if the design is right.
For a domestic project, we may need to confirm:
- roof construction, condition and access;
- usable roof dimensions and obstacles;
- shading from chimneys, trees or nearby buildings;
- consumer-unit condition and spare capacity;
- earthing and bonding arrangements;
- route for DC and AC cabling;
- safe inverter and battery locations;
- metering and DNO information.
If the survey reveals a roof repair, consumer-unit issue or other remedial work, it is usually better to deal with that properly before installation rather than force the original date.
Stage 3: System Design and Performance Estimate
The MCS Solar PV Standard requires a properly designed and documented system. That includes the module layout, electrical design, equipment selection, protection, cable routes and a performance estimate. A strong quote should therefore be more than “12 panels and a battery”.
For customers considering domestic solar panels, this is where we align roof capacity with annual electricity use and expected self-consumption. On larger roofs, the commercial design process can be more involved because metering, three-phase supplies, roof loading, fire access and network studies may all become more significant.
Stage 4: DNO Connection Requirements
The local Distribution Network Operator has to know about generation connected to its network. The exact route depends on the system and connection. Energy Networks Association guidance distinguishes smaller generation that can use simpler procedures from G99 projects that require an application and connection offer before the generation equipment is installed.
DNO Timing Is One Reason We Do Not Promise Every Customer the Same Lead Time
A straightforward domestic system may move quickly. A project requiring prior network assessment, export limitation, reinforcement or additional technical information can take longer. The installer should identify the correct route early rather than discover it after the panels arrive.
Stage 5: Scaffolding and Site Preparation
Energy Saving Trust notes that scaffolding may be erected a few days before the solar installation itself. The exact arrangement depends on the property. Some projects need full elevation scaffolding, some require additional edge protection and some commercial roofs need a completely different safe-access plan.
The aim is to make the installation day efficient without compromising safety. Deliveries, access, parking, roof protection and equipment locations should all be sorted before the team starts fitting modules.
Stage 6: The Physical Installation — Usually One to Two Days
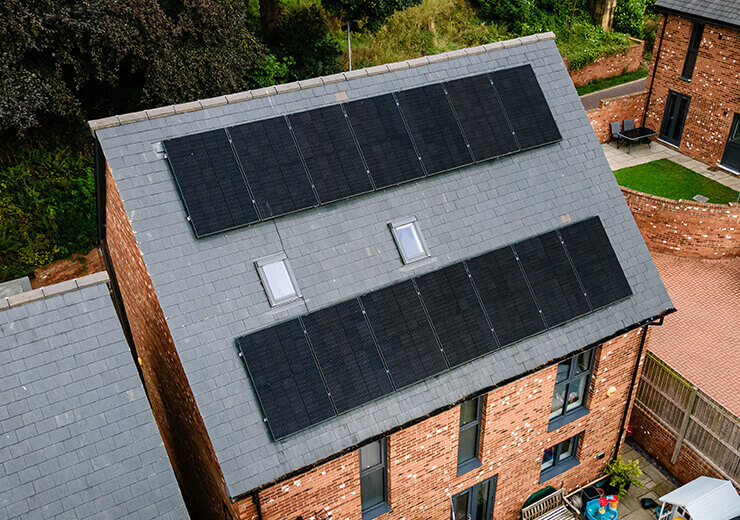
For a typical house, Energy Saving Trust's current benchmark is one to two days. During that period the team may install the roof mounting system, fit the modules, route DC cabling, install the inverter, make the AC connection and add battery storage or a diverter where included.
| Factor | Likely effect |
|---|---|
| Simple pitched roof, clear access | Usually supports the shortest installation window. |
| Multiple roof faces or dormers | More layout, cable routing and working-at-height time. |
| Battery storage | Adds equipment, cabling, commissioning and control configuration. |
| Electrical upgrades | May add time if the consumer unit, earthing or supply arrangement needs work. |
| Flat or fragile roof | Can require specialist mounting, loading assessment and access measures. |
| Commercial system | Usually requires a longer programme because the array and electrical works are larger. |
Will the Electricity Be Turned Off?
Usually there is a short interruption while the solar equipment is connected safely into the property's electrical installation. Energy Saving Trust describes the disruption from a typical home installation as minimal and says the power may need to be turned off briefly.
We discuss any planned interruption beforehand, particularly where the property has home-working equipment, medical equipment, servers, alarms or other loads that need special consideration.
Stage 7: Testing, Commissioning and Monitoring
Finishing the physical fitting does not complete the job. MCS requires commissioning and handover. The system has to be tested, protection checked, inverter settings confirmed and monitoring demonstrated. The customer should be shown how to see generation and understand normal system behaviour.
We also want the system to start its life with a clear paper trail rather than a collection of missing documents. That matters for warranty support, future servicing, property sale and export-tariff applications.
Stage 8: DNO Registration and Export Tariff
Energy Saving Trust says the installer should register the solar system and any battery storage with the DNO as part of the post-installation process. If the homeowner wants payment for exported electricity, that is a separate commercial step.
Ofgem's Smart Export Guarantee requires eligible generators to apply to a SEG licensee. Export payments are based on metered export and the supplier sets its tariff terms. This means “panels installed” and “export account fully active” do not necessarily happen on the same day.
Current 2026 Benchmark: 1–2 Days On Site, Not 1–2 Days End to End
The most useful current public benchmark is Energy Saving Trust's one-to-two-day installation window for a typical home system. Everything before and after that window depends on the property, installer workload, equipment availability and network route. We therefore quote a project programme after survey rather than using one national lead-time promise.
How Long Does a Commercial Solar Installation Take?
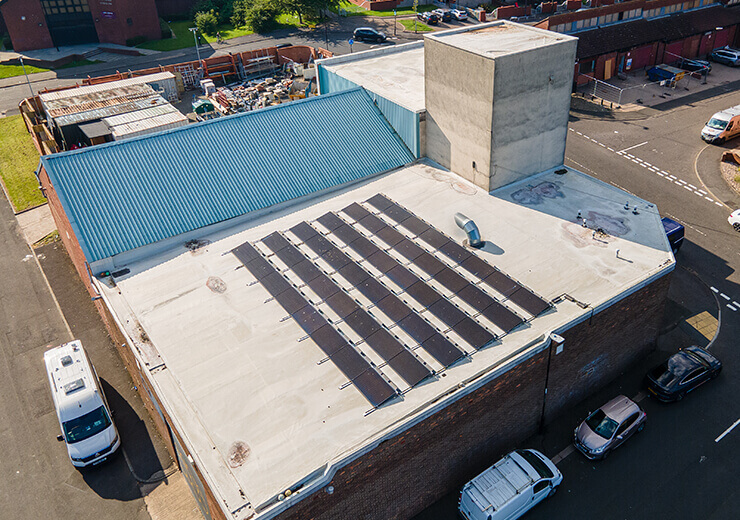
A commercial project should not be judged against a one-to-two-day domestic benchmark. Larger arrays can involve structural surveys, asbestos information, roof warranties, access systems, distribution-board work, shutdown planning, three-phase design, export limitations and detailed DNO applications.
For businesses, commercial solar installation is normally programmed around operational needs so that electrical shutdowns and roof access cause as little disruption as reasonably possible.
What Commonly Delays a Solar Project?
The Delays We Try to Identify Early
- roof repairs or structural uncertainty;
- planning or listed-building constraints;
- missing meter or MPAN information;
- DNO applications requiring additional network study;
- consumer-unit or earthing remedial work;
- equipment changes after the design is agreed;
- scaffold access restrictions;
- poor weather on the installation date;
- customer building work happening at the same time;
- specialist commercial shutdown requirements.
Can the Process Be Made Faster?
Yes, mainly by getting the design right early. Accurate electricity bills, clear photos, access to the loft and meter position, early disclosure of future EV or heat-pump plans, and prompt decisions on equipment all reduce avoidable back-and-forth.
The worst way to “speed up” solar is to skip survey work, rush the DNO route or leave electrical upgrades until installation day. Those shortcuts can create much longer delays later.
How We Set an Installation Date
We prefer to schedule once the critical technical information is known. That gives the customer a date based on a buildable design, not an optimistic sales promise. A simple project can progress quickly; a complex project gets the time it actually needs.
If you want a realistic programme for your property, request a solar quote and site assessment. We can tell you what is likely to control the timeline before you commit.